Installation
Explain what this section is about
Table of contents
- Step 1: Cloning the Repository
- Step 2: Edit Plugin Name and Description
- Step 3: Install CMake
- Step 4: Install an IDE
- Step 5. Configure the Project Settings
- Step 6. Setting up the Run Configuration
- Step 7. Attaching host to the IDE
Step 1: Cloning the Repository
The first step is to clone the repository.
git clone https://github.com/behzadhaki/NeuralMidiFXPlugin.git
Step 2: Edit Plugin Name and Description
First, open the CMakeLists.txt file at NeuralMidiFXPlugin/NeuralMidiFXPlugin/CMakeLists.txt
Modify the following lines with the description of your plugin:
set (BaseTargetName NeuralMidiFXPlugin)

...

juce_add_plugin("${NeuralMidiFXPlugin}"
        COMPANY_NAME "MyCompanyTBD"                 # Replace with a tag identifying your name
        ....
        PLUGIN_CODE NMFx                             # MUST BE UNIQUE!! If similar to other plugins, conflicts will occur
        PRODUCT_NAME "NeuralMidiFXPlugin")           # Replace with your plugin title
Step 3: Install CMake
CMake is a cross-platform tool that allows you to build, test and package software. You can download the latest version of CMake from here.
Step 4: Install an IDE
I highly recommend using CLion as your IDE. The project has been developed and tested using CLion.
Step 5. Configure the Project Settings
If you decide to use CLion, go ahead with the following step. Otherwise, you will need to configure your IDE manually to the provided settings
Go to Settings -> Build, Execution, Deployment -> CMake and add the following to the CMake options:
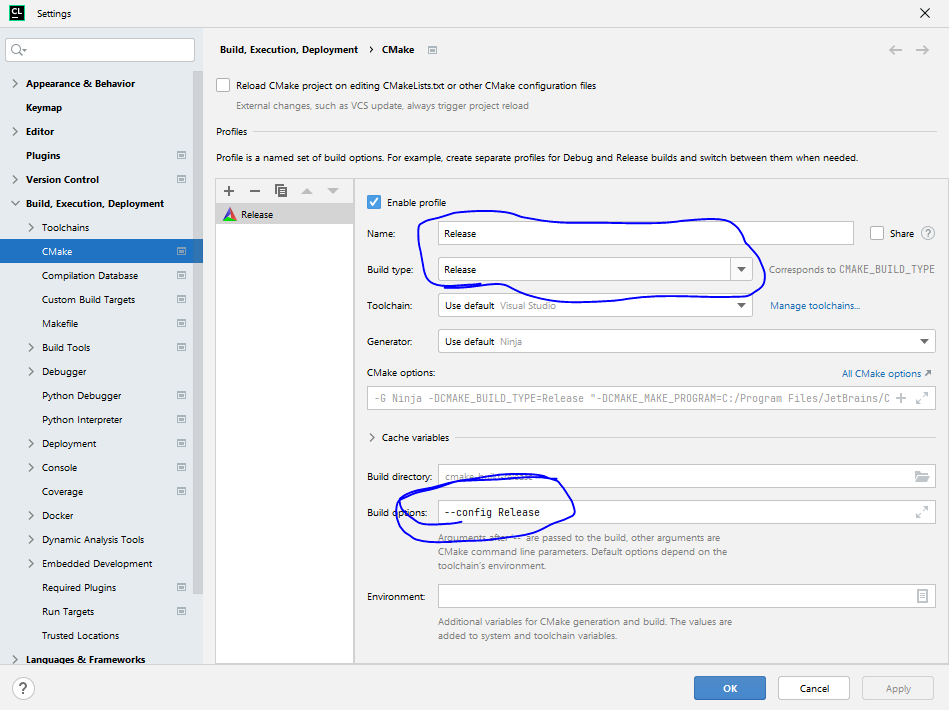
When debugging set it to
Debugand when building the plugin set it toRelease. that said, watch out for the following warning
In windows, when torch is built in debug mode, it will not allow for loading serialized models. Therefore, you will need to build torch in release mode (Exactly as the figure above)
Step 6. Setting up the Run Configuration
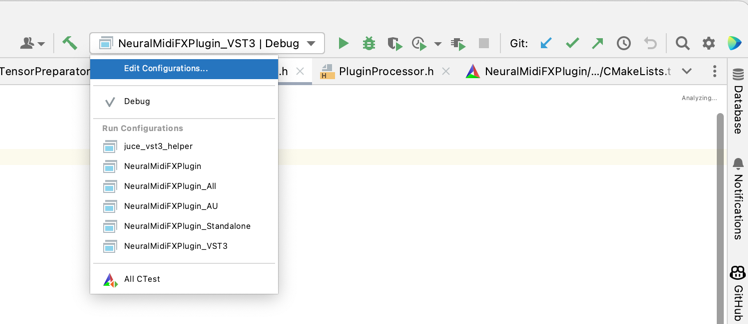
On the top right corner of CLion, click on Edit Configurations...
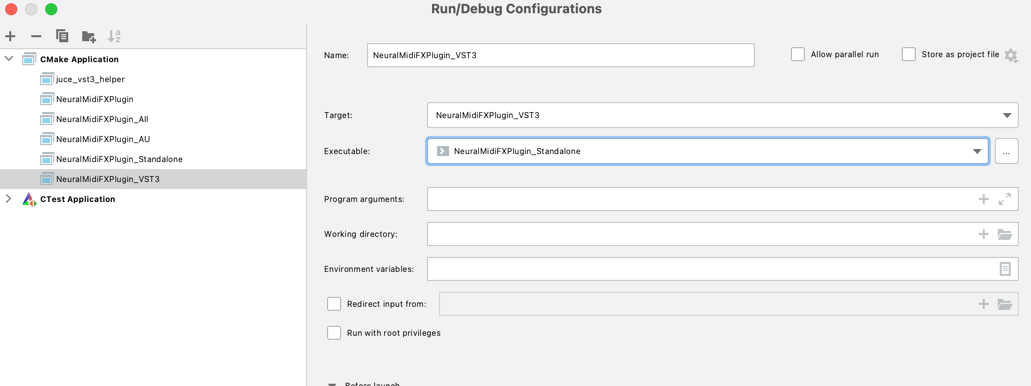
Make sure the settings are as follows:
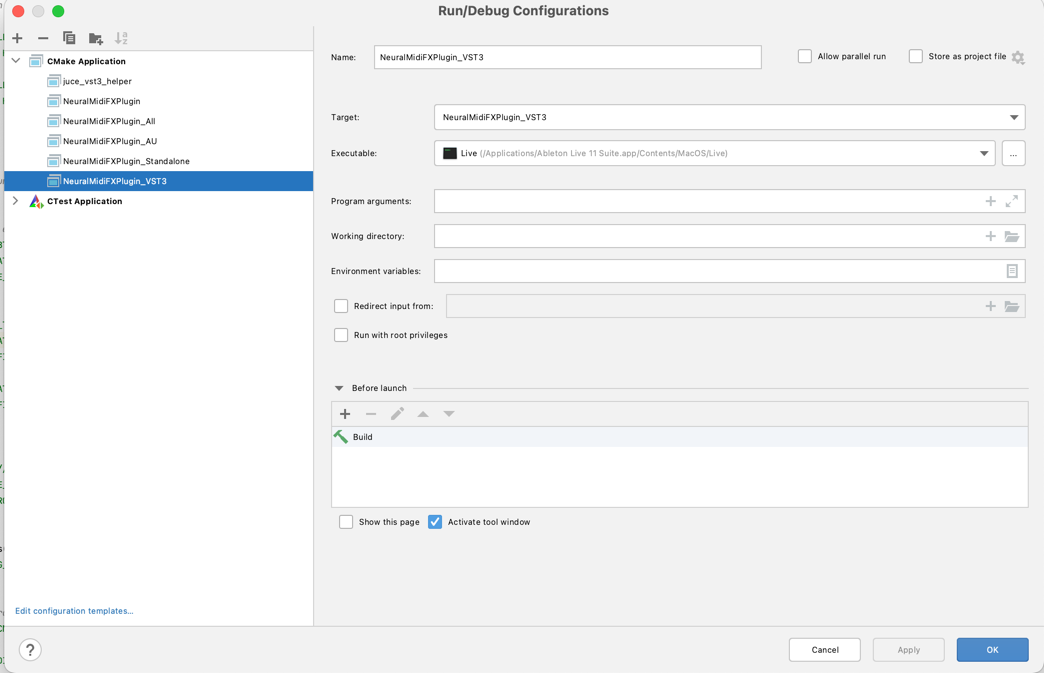
Step 7. Attaching host to the IDE
You can debug the plugin while running in a host. This is extremely useful for debugging and testing purposes. To do so, go back to the Edit Configurations.... Then, click on Executable > Custom Executable and select the host executable (see Example below).